


The great landscape photographer and artist Ansel Adams once said, “You don’t take a photograph, you make it.” If you ever wondered what the difference was between summer snapshots of a beautiful beach and postcard-perfect photos of the same beach, it is best summed up by this quote. The perfect photo takes vision, planning, and patience.
So how can we transition from taking photos to making photos? For one thing, thinking about the time of day and the light present when we shoot is essential. Rather than just stepping outside when it is convenient and snapping some photos, professional photographers begin their shoots with careful research, scouting locations and figuring out exactly what time provides the best lighting for photography at their location.


Golden Hour is when the masterpieces are made and that time of the day when all photographers want to go out and play.
What is Golden Hour?
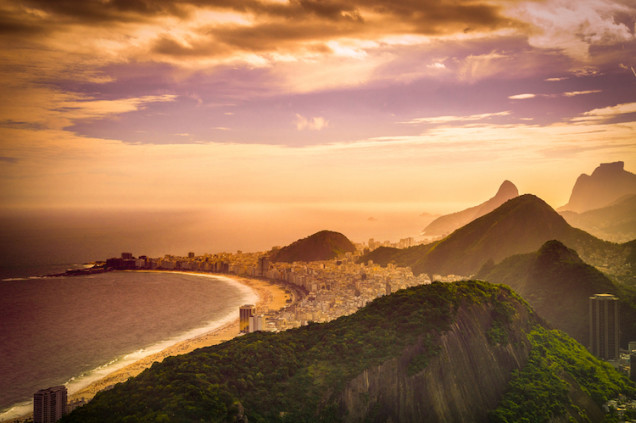
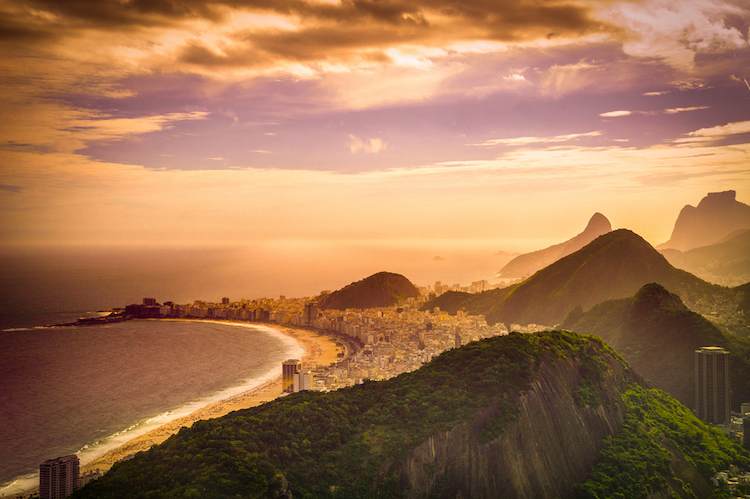
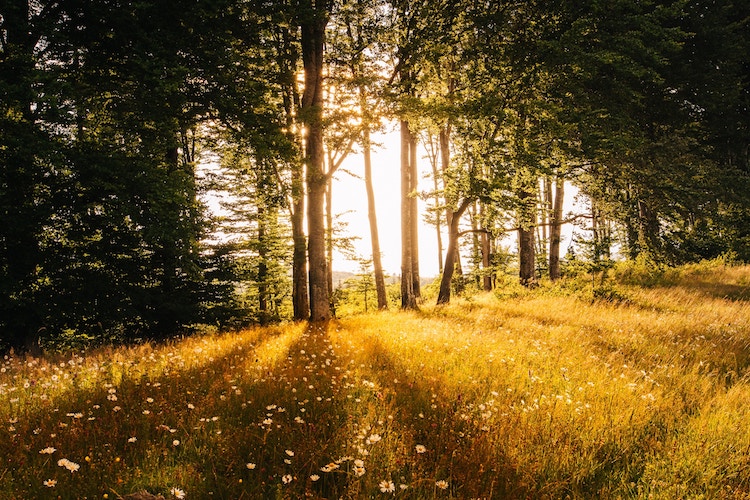
The first hour of light just after dawn and the last hour of light just before sunset is known as the Golden Hour. This window of time in the morning and evening, when the sun is at a low angle, provides photographers with a magical quality of light that makes their photos pop.

Why use the golden hour for photography?
Diffused light
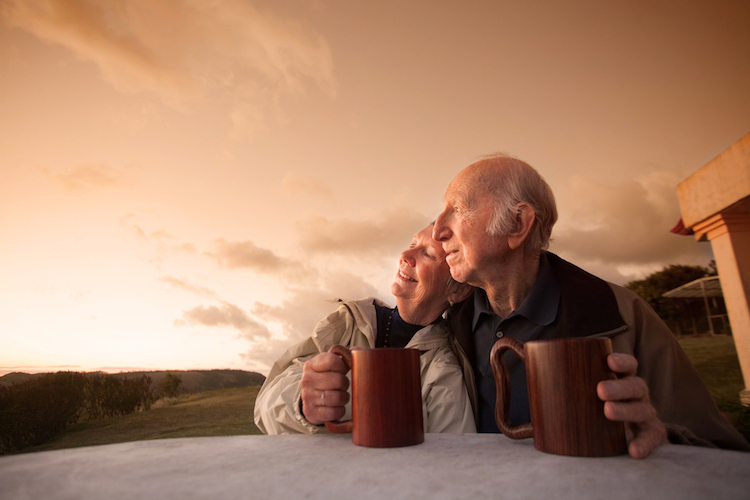
Since the sun is at a low angle during the Golden Hour, sunlight is traveling through more of the atmosphere, which softens and reduces the intensity of direct light. This makes your job easier as a photographer as the diffused, golden light produces less contrast and evenly exposed photographs.
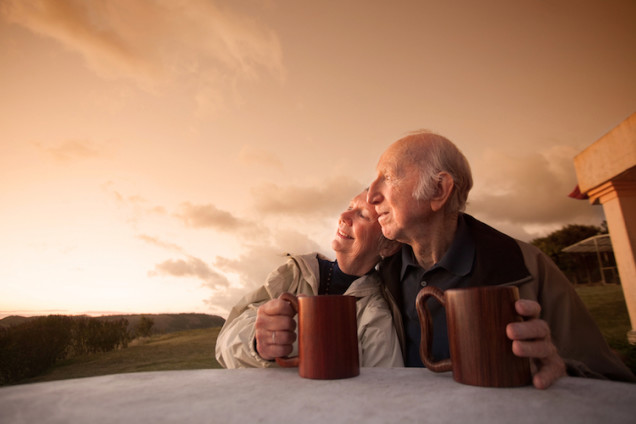
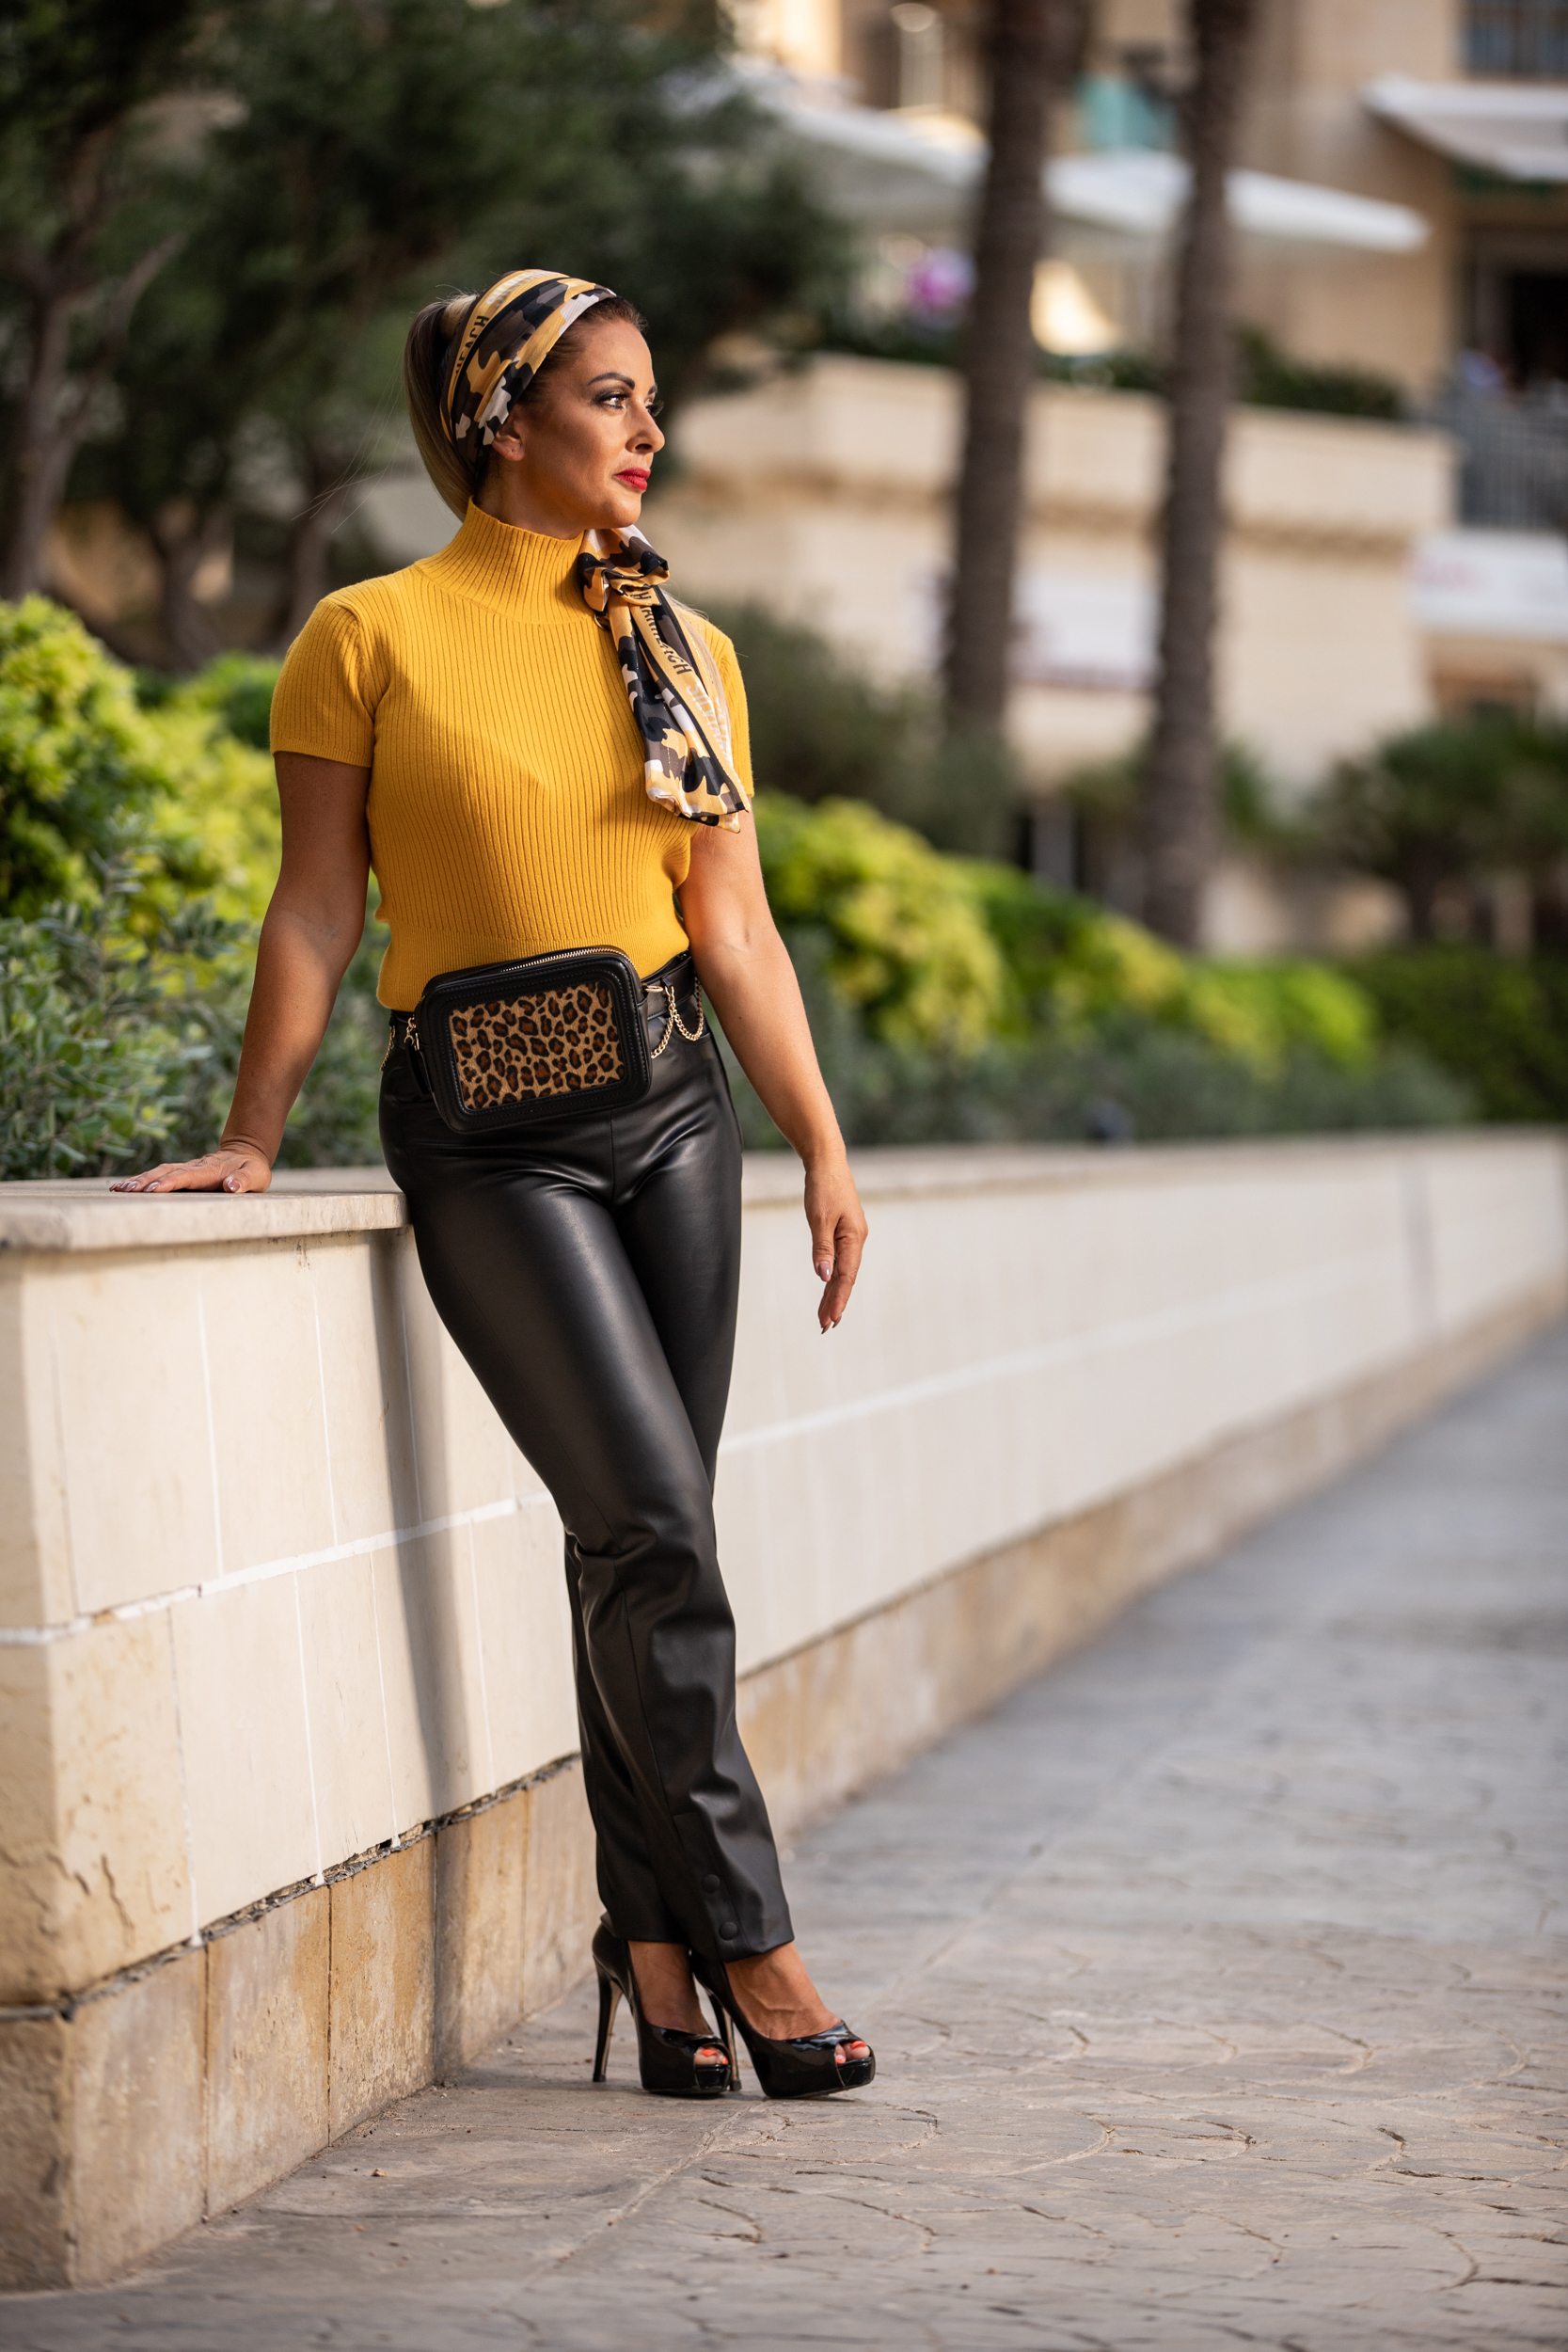
The light is warm and glowing
Since the light is traveling longer through the atmosphere, the blue light gets filtered out resulting in a more reddish and warm color. The red and yellow color of the light adds a magical and inviting warmth to your photographs.
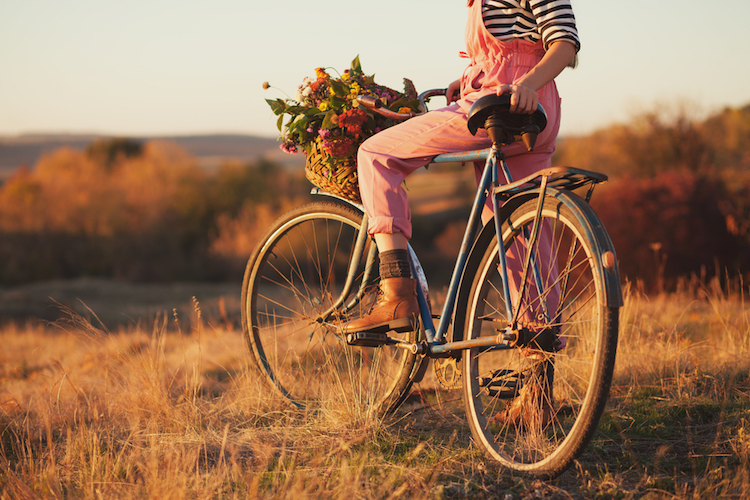
Longer and softer shadows
‘
The steep angle of the light also makes beautiful shadows and pleasing contrast adding depth and dimension to your images.

What time is the Golden Hour?
Despite its name, it is not always an hour, and the exact duration varies between seasons. Depending on how far you are from the equator, Magic Hour might last as little as 40 minutes in the Tropics or as much as several hours near the Arctic in the summer. If clouds are present and reflecting sunlight, it might not happen at all. If clouds move in at just the right time, Golden Hour might become truncated.
Tools to calculate the Golden Hour
Golden Hour photography requires some planning since you are working with a short period of time. To get the most of it, you will want to prepare. Not only will you want to know when is Golden Hour, but you’ll also want to think about how long it lasts.

Calculating the exact time of sunset is the easy part. Many weather websites will list the exact times of sunrise and sunset for your location. Remember, sunrise and sunset occur at different times every day depending on your geographic location and on the date of the year. So what time is the photography Golden Hour? There are some online, photography-specific golden hour calculators designed to figure out exactly how long it will last so you can plan exactly when to be out shooting. The period for magic hour photography is approximately the hour immediately after sunrise and the hour immediately before sunset. If you are closer to the equator, plan on the “hour” being shorter, and if you are farther north, plan on it being a little longer.
Magic Hour is an excellent golden hour app for calculating the time of the golden hour lighting for your location.
Golden Hour Photography Techniques:
Here are some golden hour photography tips to get the best results and create magical photos:
Plan for the Golden Hour
While it is fun to go out and randomly shoot a location at the right time, since we are dealing with a limited time planning the time to shoot is critical. You do not want to arrive at the shoot location an hour before sunset and start looking for your favorite shot. Ideally, you will have been to the site on a previous trip and have a good idea where you’ll want to set up your photos. If you are shooting with models or doing a portrait session, you’ll want to arrive extra early to get everyone organized and on location.
Pick out Details
Golden Hour photography can be sweeping panoramas or detailed close-ups. Regardless of your field of view, it is often the small details that make a photo successful. Find the little things that make a place unique and emphasize them. The deep contrasts and the angled, diffused light of Magic Hour will help you tell the story all the better.
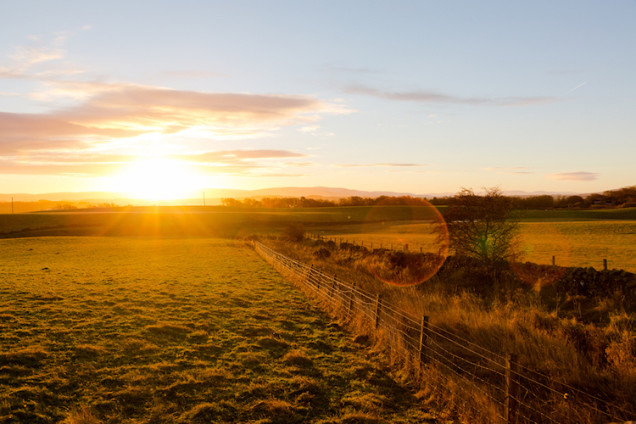
Play with Flare
Flare is usually avoided in photography and considered by some to be a technical deficiency with photographs. Flare is the reflection of a bright light, like the sun, in the internal lens elements that show up in the final images. Sometimes flare adds to the photo, and a photographer might want to work with the flare instead of avoiding it. When executed well, flared images are authentic and beautiful, with extra interest and color. When combined with the warm, inviting colors and deep shadows present at this time of day, lens flare works amazingly well.
Flare can be manipulated by the photographer by merely changing the angle of the camera lens to the sun. Just by shifting the camera up or down, or right to left, by a few degrees, will change the flare remarkably. A lens hood can also help reduce flare if you are looking to get rid of it entirely.

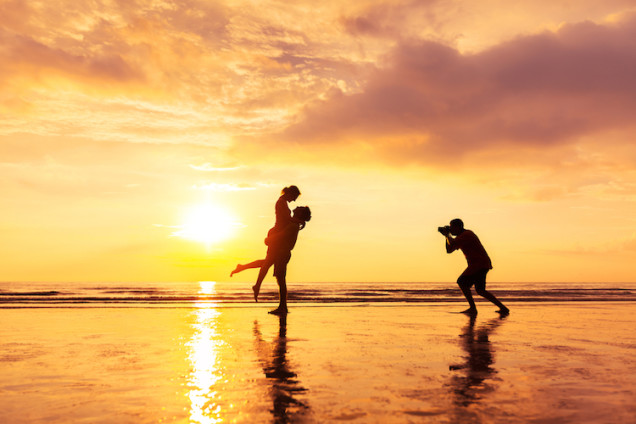
Play with Shadows
Don’t be put off with the deep shadows present in a lot of images taken during this time of day. The deep contrasts can help make details pop and can bring emotion and drama to your photos. Furthermore, this is a great time to play with silhouettes. Silhouettes are dark, underexposed subjects set in front of a light source. Another fantastic option for photographers out and about during this beautiful period is the chance to catch the perfect rim light. Rim light is when a subject is lit from behind, and a rim of light highlights its edges. Silhouettes, rim lighting, and lens flare can be combined to make mind-blowing, fantastic photos.

Adjust Your White Balance
White balance might be one of the most critical Golden Hour photography settings you need to consider. White balance is the setting in the camera that measures the temperature of light to calibrate the colors displayed in the final image. If you’ve never taken your camera off of the automatic white balance mode, you aren’t alone. But by playing with the setting in the camera, you can narrow in on exactly the look you have envisioned. The warm, angled light during this period of daylight often fools the camera’s automatic settings into using inappropriately cool color temperature.
There are three ways that photographers can manually calibrate their color balance. The most accurate way is with a good light meter, which will give you the temperature of the ambient light in your location as measured in Kelvin. This can be directly entered on most professional cameras. If you don’t have an option to input the precise temperature, the next best way is by taking a calibration shot. Your camera can sample the color temperature directly using a photo of a perfectly white calibration card. There are also special filters or caps which you can put on the camera to achieve the same effect; these are slightly easier to use that calibration cards. The last option you have is to use camera presents, which will be for common conditions like direct sunlight, shade, cloudy day, fluorescent lights, etc. The problem here is that Magic Hour is a little different every day, and to get it right no one preset is going to work just right. Furthermore, you might want a slightly different color hue to make your photos warmer or cooler depending on the mood of the shot.
A failsafe way to avoid problems with white balance is to shoot with your camera in RAW mode. RAW images contain more data than jpeg photos and give you many more post-processing options. For example, one of the primary and easiest corrections you can make to RAW images is to correct color temperature easily. This way, you can get the pictures as close as possible while shooting but you can still fine-tune it later.


Use a Tripod
Another one of the essential Golden Hour photography settings to work with is shutter speed. The low angle of the sun and the dark shadows mean that exposure times are going to be longer during Magic Hour. Without the help of a tripod, there is a risk that your photos will come out blurry and unusable. A tripod stabilizes the camera and prevents problems caused by hand-holding. Using a tripod also forces you to slow down and to spend more time composing the image.
When shooting landscapes, the slow shutter speed is a blessing in disguise. Slow shutter speeds slow downtime and blur moving scenes of clouds, waves, and water. With a little planning and some practice, you’ll love the results of slowing down your images during Magic Hour. If you want to shoot even slower, considering popping on a neutral density filter. ND filters reduce the light entering the camera and allow for shooting with extremely slow shutter speeds. Another option might be to wait for Blue Hour, which is the period of time just after sunset or just before sunrise. During this time of twilight, the blue wavelengths of light dominate and the sky is darker. This is a fantastic light for certain landscape scenes and should not be ignored.
Make the Most of Your Time
Planning ahead is the number one way to make the most of your time on location. Once you have nailed down when is Golden Hour, you can design the rest of your shoot. But don’t forget time for setup and scouting out locations. If you have visited the site previously, you can head to the spot and set up in advance and watch the light change around you. You might also want to stay after for sunset and Blue Hour!
Be Flexible
Lastly, Golden Hour photography requires a certain amount of flexibility. Since clouds can change the light dramatically, you might not be able to get exactly the image you had envisioned. All is not lost. Work with what Mother Nature gives you, have fun, and keep shooting. You may be surprised to find that your favorite images are not the ones you thought would be the winners, but rather the opportunities that unexpectedly presented themselves.
Conclusion
If you are looking to take your photos up a notch, shooting during the Golden Hour can make a big difference to your outdoor photography. Start taking advantage of this gift of nature by planning your shoots around this time of the day to transform your photography.
If you have any Golden Hour photography tips, please do share them in the comments below.
Article in collaboration with Pixpa.com – a global platform that enables photographers and creative pros to create their own portfolio website.
Original article is published by Pixpa.


2 Comments